How to make organic candles – Welcome to the world of organic candle-making, where nature’s finest ingredients meet creativity and sustainability. In this comprehensive guide, we’ll delve into the art of crafting your own organic candles, empowering you to illuminate your home with natural, eco-friendly, and aromatic delights.
From choosing the perfect wax to adding captivating fragrances, we’ll guide you through every step of the process, ensuring that your candles not only smell divine but also burn cleanly and safely. So, gather your supplies, let your imagination soar, and embark on this enchanting journey into the world of organic candle-making.
Choosing the Right Wax
Selecting the right wax is crucial for successful candle-making. Organic waxes offer eco-friendly and sustainable alternatives to traditional paraffin wax. Here are some popular organic wax options:
Soy Wax
- Made from soybeans, soy wax is a natural and biodegradable wax.
- It burns cleanly with minimal soot and has a creamy, smooth finish.
- Soy wax has a lower melting point than other waxes, making it ideal for container candles.
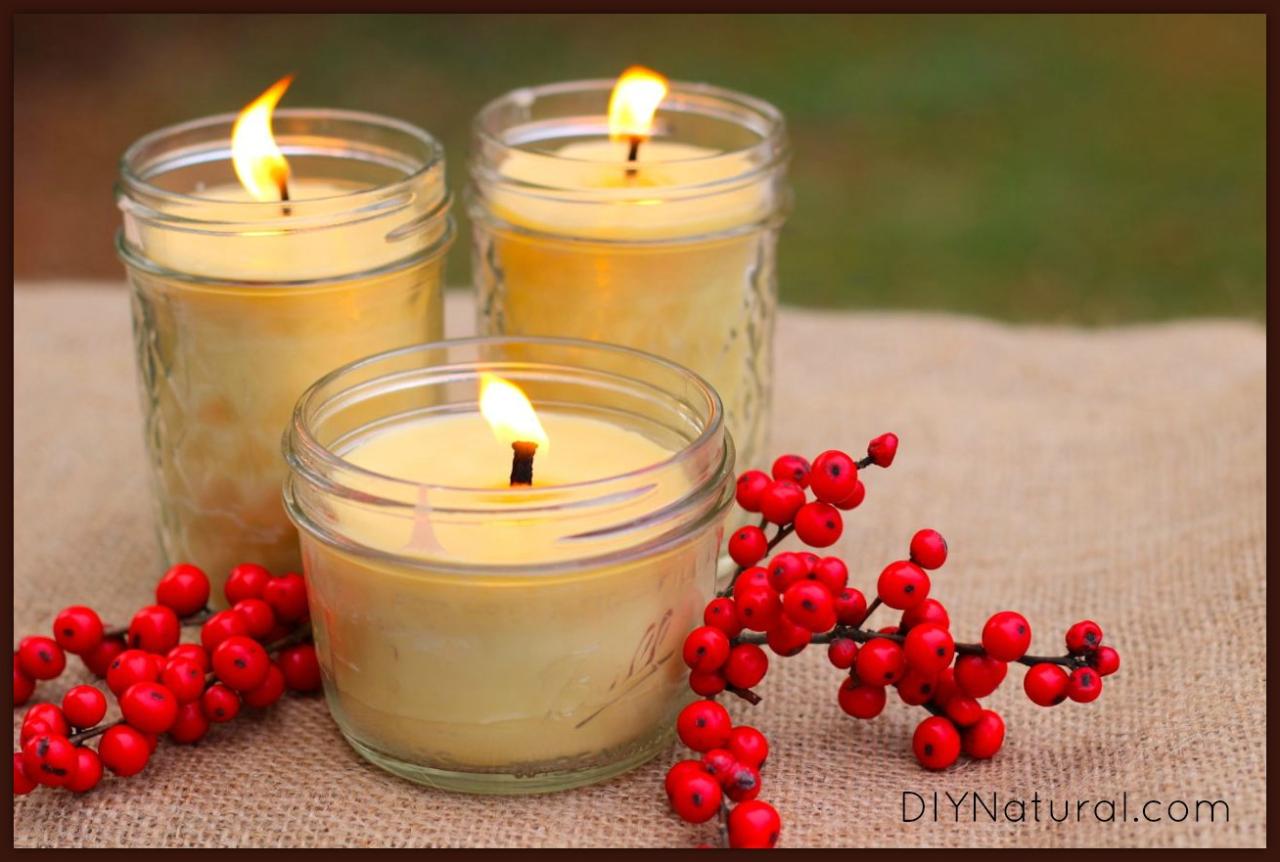
Beeswax
- Derived from honeycombs, beeswax is a natural and hypoallergenic wax.
- It burns with a warm, honey-like scent and produces a soft, golden glow.
- Beeswax has a high melting point, making it suitable for pillar candles and other decorative candles.
Coconut Wax
- Extracted from coconut oil, coconut wax is a vegan and renewable wax.
- It has a clean burn with minimal smoke and a subtle, tropical scent.
- Coconut wax has a medium melting point, making it versatile for various candle types.
| Property | Soy Wax | Beeswax | Coconut Wax |
|---|---|---|---|
| Melting Point | Low | High | Medium |
| Burn Time | Moderate | Long | Moderate |
| Scent Throw | Moderate | Strong | Moderate |
| Biodegradability | Yes | Yes | Yes |
Consider your specific candle-making needs when selecting a wax. For example, if you desire a long-lasting candle with a strong scent, beeswax might be the ideal choice. If you prefer a vegan and eco-friendly option, coconut wax or soy wax are excellent alternatives.
Melting the Wax

Melting the wax is a crucial step in candle making as it allows you to blend fragrances, dyes, and other additives into the wax. This process requires careful monitoring to ensure the wax does not overheat or burn.
Methods of Melting Wax, How to make organic candles
There are several methods to melt wax, each with its advantages and disadvantages:
- Double Boiler:A double boiler is a safe and effective method. It involves placing the wax in a heat-resistant bowl suspended over a pot of simmering water. The steam from the water gently melts the wax, preventing overheating.
- Microwave:Microwaving is a quick and convenient option, but it requires constant monitoring to avoid overheating. Place the wax in a microwave-safe container and heat it in short intervals, stirring in between to ensure even melting.
- Stovetop:Melting wax on the stovetop is not recommended as it can be hazardous. The direct heat can cause the wax to overheat and potentially catch fire.
Monitoring the Temperature
Monitoring the temperature of the wax is essential to prevent overheating and ensure proper blending. Use a thermometer to track the temperature and maintain it within the recommended range for your chosen wax.
Step-by-Step Guide for Melting Wax
- Choose your preferred melting method.
- Prepare the wax by breaking it into smaller pieces for faster melting.
- Set up your melting equipment (double boiler, microwave, etc.).
- Place the wax in the melting container.
- Begin heating the wax while monitoring the temperature.
- Once the wax is melted, remove it from the heat and let it cool slightly before adding fragrances or dyes.
Curing the Candles: How To Make Organic Candles

Properly curing your candles is crucial for ensuring their optimal performance and longevity. Curing allows the wax to stabilize, enhancing its scent throw and burn time.
Curing Temperature and Humidity
The ideal curing temperature for candles is between 65-75°F (18-24°C) with a humidity level of 40-50%. This temperature range allows the wax to solidify slowly and evenly, preventing cracks or frosting. Maintaining proper humidity prevents the wax from drying out too quickly or becoming too soft.
Benefits of Curing
- Enhanced scent throw: Curing allows the fragrance oils to fully integrate into the wax, resulting in a stronger and more consistent scent.
- Improved burn time: Properly cured candles burn more evenly and for a longer duration due to the stabilized wax structure.
- Reduced soot and smoke: Curing helps eliminate air bubbles and impurities from the wax, resulting in a cleaner burn with less soot and smoke.
Curing Timeline
The curing time for candles varies depending on their size and type. As a general guideline:
- Small candles (under 8oz): 1-2 weeks
- Medium candles (8-16oz): 2-3 weeks
- Large candles (over 16oz): 3-4 weeks
It’s important to note that curing is not a passive process. Regularly rotate the candles during curing to ensure even distribution of fragrance and wax.
Finishing Touches

Once the candles have cured, it’s time to add the finishing touches. This includes trimming the wicks, adding labels, and packaging them for sale or storage.
Trimming the Wicks
Trimming the wicks to the correct length is essential for optimal candle performance. A wick that is too long will cause the candle to burn too hot and produce soot. A wick that is too short will cause the candle to burn too low and may eventually drown in its own wax.
The ideal wick length is between 1/4 and 1/2 inch.
Adding Labels
Labels are a great way to add a personal touch to your candles and provide important information to your customers. You can create your own labels using a computer program or purchase pre-made labels from a craft store. Be sure to include the following information on your labels:
- The name of the candle
- The scent of the candle
- The weight of the candle
- The burn time of the candle
- Any warnings or instructions
Storing and Using Candles Safely
Once your candles are finished, it’s important to store and use them safely. Here are a few tips:
- Store candles in a cool, dry place away from direct sunlight.
- Never leave a burning candle unattended.
- Keep candles away from children and pets.
- Place candles on a stable, heat-resistant surface.
- Do not burn candles for more than four hours at a time.
- Extinguish candles by dipping the wick into the wax pool and then straightening it up.
End of Discussion
As you complete your organic candle-making endeavors, remember that you’ve not only created beautiful and fragrant home accessories but also made a conscious choice towards sustainability. Your candles will not only brighten your space but also fill it with the sweet scents of nature, enhancing your well-being and leaving a lasting impression on all who experience their charm.
Embrace the joy of organic candle-making, and may your creations bring warmth, tranquility, and a touch of the natural world into your life.

