Wax to make candles – Welcome to the enchanting realm of candle making, where wax takes center stage as the sculptor of fragrant masterpieces. In this comprehensive guide, we embark on a journey through the art of crafting luminous creations, exploring the types of wax, techniques, and secrets that transform ordinary wax into extraordinary works of art.
From the delicate glow of soy candles to the rustic charm of beeswax, each type of wax holds its own unique allure. We’ll delve into their characteristics, burn times, and scent throw, empowering you to make informed choices for your candle-making endeavors.
Types of Wax for Candle Making
In the realm of candle making, the choice of wax is paramount, influencing the burn time, scent throw, and overall aesthetic of your creations. Let us delve into the diverse types of wax available, each with its unique advantages and drawbacks.
Paraffin Wax
- Pros:Inexpensive, widely available, provides a clean burn with minimal soot.
- Cons:Made from petroleum, non-renewable resource, may produce a weaker scent throw compared to other waxes.
Soy Wax
- Pros:Made from soybeans, renewable resource, burns cleanly with minimal soot, good scent throw.
- Cons:Can be more expensive than paraffin wax, may have a shorter burn time.
Beeswax
- Pros:Natural, renewable resource, produces a warm, golden glow, excellent scent throw.
- Cons:More expensive than other waxes, may produce smoke if not properly burned.
Palm Wax
- Pros:Made from palm oil, renewable resource, burns cleanly with a good scent throw.
- Cons:Environmental concerns due to deforestation for palm oil production, may be more expensive than other waxes.
Choosing the Right Wax for Your Candles: Wax To Make Candles

Selecting the right type of wax for your candles is crucial to ensure optimal performance, aesthetics, and safety. Consider the following factors when choosing a wax:
Desired Burn Time
Different waxes have varying burn times. Container candles, typically enclosed in jars or tins, require waxes with longer burn times, such as paraffin or soy wax. Pillar candles, known for their height and stately presence, benefit from waxes like beeswax or palm wax, which offer extended burn times.
Votive candles, smaller and designed for short-term use, can utilize waxes with shorter burn times, such as paraffin or gel wax.
Scent Throw
The scent throw, or the intensity with which a candle releases its fragrance, is influenced by the wax type. Soy wax and beeswax are renowned for their excellent scent throw, effectively dispersing fragrances throughout a space. Paraffin wax, while having a lower scent throw, can be blended with other waxes to enhance fragrance release.
Container Type
The type of container used for your candles also affects wax selection. Metal containers, such as tins, require waxes that adhere well to metal surfaces, like paraffin or soy wax. Glass containers, on the other hand, can accommodate a wider range of waxes, including beeswax, coconut wax, and soy wax.
Waxes that are too soft or brittle may not perform well in certain containers.
Preparing Wax for Candle Making
Preparing wax for candle making involves melting the wax, adding fragrance oils, and coloring. Each step requires careful attention to ensure the final product is of high quality and burns safely.
Melting the Wax
The first step in preparing wax for candle making is to melt it. This can be done in a double boiler or in a microwave-safe container. If using a double boiler, fill the bottom pot with water and bring it to a simmer.
Place the wax in the top pot and stir until it is completely melted. If using a microwave, heat the wax in 30-second intervals, stirring in between, until it is completely melted.
Adding Fragrance Oils
Once the wax is melted, you can add fragrance oils. Fragrance oils are concentrated scents that are used to give candles their distinctive aromas. When adding fragrance oils, it is important to follow the manufacturer’s instructions carefully. Too much fragrance oil can make the candle smell too strong or cause it to burn unevenly.
A good rule of thumb is to add no more than 10% fragrance oil to the melted wax.
Coloring the Wax
If you want to color your candles, you can add candle dye to the melted wax. Candle dyes are available in a variety of colors, so you can create candles that match any décor. When adding candle dye, it is important to start with a small amount and gradually add more until you reach the desired color.
Too much candle dye can make the wax too dark or cause it to burn unevenly.
Pouring Candles

Pouring candles involves preparing the molds, wicking the candles, and pouring the wax. It’s essential to follow these steps carefully to ensure even burning and a professional finish.
Preparing Molds
Clean and dry the molds thoroughly to prevent imperfections in the candles. Spray a mold release agent, such as cooking spray or mold release wax, to make it easier to remove the candles once they’ve cooled.
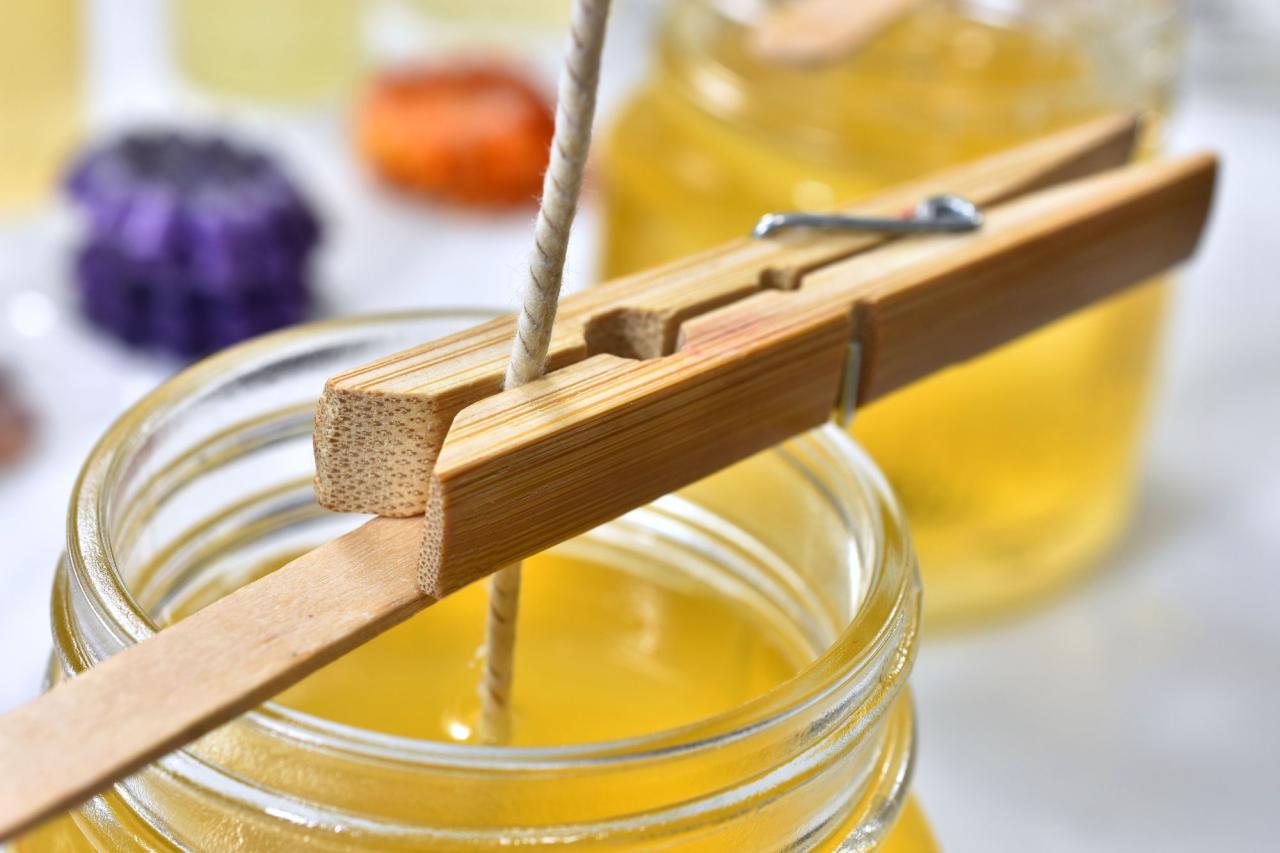
Wicking the Candles
Choose a wick size appropriate for the diameter of the candle. Cut the wick to the desired length, leaving enough excess to secure it at the bottom of the mold and extend above the top.
- Center the wick in the mold and secure it at the bottom using a wick tab or hot glue.
- Trim the wick to about 1/4 inch above the top of the mold to prevent smoking and ensure proper burning.
Pouring the Wax
Heat the wax to the recommended temperature for the type of wax you’re using. Pour the melted wax into the mold slowly and evenly, avoiding air bubbles. Tap the mold gently to release any trapped air.
- Allow the wax to cool and harden completely before removing the candles from the molds.
- Trim the wicks to 1/4 inch above the surface of the candles for optimal burning.
Curing Candles
Curing candles is an essential step in the candle-making process that ensures a good burn and scent throw. It involves allowing the candles to rest and harden at a controlled temperature and humidity level. This process allows the wax to fully set, the fragrance to fully develop, and any air bubbles to escape, resulting in a candle that burns evenly and releases its scent optimally.
Ideal Conditions for Curing Candles
The ideal temperature for curing candles is between 65-75°F (18-24°C). This temperature range allows the wax to harden slowly and evenly, preventing cracking or tunneling. The ideal humidity level is around 50%. Too high humidity can cause the candles to sweat, while too low humidity can cause the wax to dry out too quickly, resulting in a weak scent throw.
Curing Time
The curing time for candles varies depending on the type of wax used and the size of the candles. Generally, smaller candles require less curing time than larger candles. Soy wax candles typically require 1-2 weeks of curing, while paraffin wax candles may require 2-4 weeks.
It’s important to follow the manufacturer’s instructions for the specific wax you are using.
Tips for Curing Candles
* Place the candles in a well-ventilated area with consistent temperature and humidity levels.
- Avoid placing the candles in direct sunlight or near heat sources.
- If possible, use a curing cabinet or box to maintain the ideal conditions.
- Turn the candles upside down halfway through the curing process to ensure even curing.
- Once the candles are fully cured, store them in a cool, dark place until you are ready to use them.
Troubleshooting Candle Making Issues
Candle making is a rewarding craft, but it can also be challenging. Several common problems can occur during candle making, but with the right knowledge and techniques, these issues can be easily resolved.
Frosting
Frosting is a white, crystalline substance that can form on the surface of candles. It is caused by the wax cooling too quickly, which can happen if the wax is poured at too high a temperature or if the candle is cooled too quickly.
To prevent frosting, make sure to pour the wax at the correct temperature and allow the candle to cool slowly. You can also try adding a small amount of stearic acid to the wax, which will help to slow down the cooling process.
Tunneling, Wax to make candles
Tunneling is a problem that occurs when the candle burns down the center, leaving a thick layer of wax around the edges. This is caused by using the wrong type of wick or by trimming the wick too short.
To prevent tunneling, make sure to use the right type of wick for the size and shape of your candle. You should also trim the wick to 1/4 inch before each use.
Soot
Soot is a black substance that can form on the wick of a candle. It is caused by incomplete combustion, which can happen if the wick is too long or if the candle is burning in a drafty area.
To prevent soot, make sure to trim the wick to 1/4 inch before each use and burn the candle in a draft-free area.
Final Thoughts
As we conclude our exploration of wax to make candles, remember that the art of candle making is a canvas for your creativity. Experiment with different waxes, fragrances, and designs to create candles that reflect your personal style and ignite the senses of those around you.
Embrace the transformative power of wax and let your imagination soar as you craft luminous masterpieces that illuminate your world with warmth and fragrance.


