Embark on a delightful journey into the art of candle-making with our comprehensive guide on how to make jar candles. From gathering materials to adding finishing touches, we’ll illuminate every step, ensuring your homemade candles bring warmth and ambiance to your space.
Whether you’re a seasoned crafter or a curious novice, this guide will empower you to create stunning jar candles that not only enhance your home decor but also fill it with captivating scents and a cozy atmosphere.
Gathering Materials
To embark on your candle-making adventure, it is essential to gather the necessary materials. This comprehensive list will guide you through the crucial components:
Materials:
- Glass jars:Choose heat-resistant jars in your desired sizes and shapes.
- Candle wax:Soy wax, beeswax, or paraffin wax are common options.
- Candle wicks:Pre-tabbed wicks are convenient and ensure proper burning.
- Wick centering tool:This tool helps keep the wick centered in the jar.
- Thermometer:A candy or candle-making thermometer is essential for monitoring wax temperature.
- Double boiler:For safely melting the wax.
- Fragrance oil (optional):Add a delightful scent to your candles.
- Candle dye (optional):Create vibrant colors for a personalized touch.
Choosing the Right Jars

Selecting suitable jars is crucial for creating safe and aesthetically pleasing jar candles. Factors to consider include size, shape, and heat resistance.
Size
Jar size should align with the desired burn time and wax volume. Smaller jars suit shorter burn times, while larger jars accommodate more wax for extended burn times.
Shape
Jar shape influences both aesthetics and functionality. Cylindrical jars offer a classic look and even heat distribution, while wider jars provide more surface area for fragrance release.
Heat Resistance
Jars must withstand high temperatures without cracking or breaking. Glass jars with thick walls are ideal, as they can handle the heat generated during burning without compromising safety.
Preparing the Jars
Preparing the jars is a crucial step in making jar candles. It ensures a clean and smooth surface for the wax to adhere to, preventing air bubbles and imperfections in the final product.
To prepare the jars, follow these steps:
Cleaning the Jars
- Wash the jars thoroughly with warm, soapy water to remove any dirt or debris.
- Rinse the jars well with clean water and allow them to dry completely.
- Use a lint-free cloth or paper towel to wipe down the inside and outside of the jars to remove any remaining moisture or fingerprints.
Sterilizing the Jars
- To prevent bacterial growth and ensure the longevity of your candles, sterilize the jars before pouring the wax.
- Place the jars in a preheated oven at 200°F (93°C) for 10-15 minutes.
- Alternatively, you can boil the jars in a large pot of water for 10 minutes.
Ensuring a Smooth Wax Surface
- To achieve a smooth wax surface, apply a thin layer of vegetable oil or candle release agent to the inside of the jars.
- Use a cotton ball or soft cloth to apply the oil evenly, covering the entire surface.
- This will help the wax to release easily from the jars when they are cured.
Selecting and Melting the Wax: How To Make Jar Candles
The type of wax you choose will significantly impact the performance and aesthetics of your jar candles. Some popular waxes include:
- Soy wax: Made from soybeans, soy wax is eco-friendly and burns cleanly with minimal soot.
- Paraffin wax: Derived from petroleum, paraffin wax is widely used for its low cost and strong scent throw.
- Beeswax: Natural and sustainable, beeswax produces a warm, golden glow and has a pleasant honey scent.
- Coconut wax: Made from coconut oil, coconut wax is known for its creamy texture and excellent scent retention.
Once you have selected your wax, you can begin the melting process. Always follow the manufacturer’s instructions for melting temperatures and times.
Melting the Wax Safely
- Use a double boiler or a dedicated wax melter for safety.
- Never heat wax directly over an open flame.
- Stir the wax occasionally to prevent scorching.
- Monitor the temperature closely using a thermometer.
- Avoid overheating the wax, as this can cause it to burn or lose its scent.
Adding Scents and Colors

Enhancing your candles with alluring scents and vibrant colors elevates their ambiance and personalization. This section guides you through the process of incorporating these elements into your wax.
Selecting and Measuring Scents
Fragrance oils, derived from natural or synthetic sources, impart a wide range of aromas to your candles. When choosing scents, consider the desired ambiance and personal preferences. Experiment with different oils to find combinations that resonate with you.
- Measure fragrance oils carefully, typically ranging from 5-10% of the wax weight. A good starting point is 6-8%. Exceeding these amounts may overpower the scent or interfere with the burn quality.
- Add fragrance oils to the melted wax gradually, stirring thoroughly after each addition. Test the scent intensity and adjust as needed.
Choosing and Measuring Colors, How to make jar candles
Candle dyes come in liquid or powdered forms and add a touch of vibrancy to your creations. Choose dyes that are compatible with the type of wax you’re using.
- Measure dyes sparingly, as too much can affect the wax’s burning characteristics. Start with 1-2% of the wax weight and gradually increase until the desired color is achieved.
- Add dyes to the melted wax and stir thoroughly to ensure even distribution. Avoid overheating the wax, as this can affect the dye’s color.
Preparing the Wicks
Using the appropriate wicks is crucial for the proper burning of jar candles. The type of wick determines the flame size, burn time, and overall performance of the candle.
To ensure optimal performance, it’s essential to center and secure the wicks in the jars. This prevents them from shifting or falling, which can lead to uneven burning and potential safety hazards.
Centering the Wicks
Before securing the wicks, center them within the jars. This can be achieved by using a wick centering tool or by manually adjusting the wick’s position until it’s evenly spaced from the edges of the jar.
Securing the Wicks
Once the wicks are centered, secure them in place to prevent movement during the pouring and burning process. This can be done by using a wick holder, glue dots, or by carefully adhering the wick to the bottom of the jar using a small amount of melted wax.
Pouring the Wax
After preparing the wicks and jars, the next step is pouring the melted wax into the containers. This process requires careful attention to detail to ensure an even burn and avoid air bubbles.
Avoiding Air Bubbles:Air bubbles can cause the candle to burn unevenly and create soot. To prevent this, pour the wax slowly and steadily into the center of the jar. Use a spoon or chopstick to gently stir the wax as you pour, helping to release any trapped air bubbles.
Ensuring an Even Burn:For an even burn, it’s crucial to ensure that the wax is evenly distributed throughout the jar. Pour the wax to about 1/4 inch below the rim of the jar. Once the wax has cooled slightly, use a heat gun or hair dryer to gently warm the sides of the jar.
This will help the wax adhere to the glass and prevent tunneling, where the candle burns down the center, leaving wax on the sides.
Curing the Candles
Curing candles is a crucial step that ensures they burn evenly and have a strong scent throw. It allows the wax to fully solidify and the fragrance to evenly distribute throughout the candle.
To cure your candles, place them in a cool, dry place away from direct sunlight. The ideal temperature for curing is between 65-75°F (18-24°C). Let the candles cure for at least 2 weeks, but longer curing times will result in a better burn and scent throw.
Tips for Curing Candles
- Avoid curing candles in a warm or humid environment, as this can cause the wax to sweat and the fragrance to evaporate.
- If you are short on time, you can speed up the curing process by placing the candles in the refrigerator for a few hours before lighting them.
- Once the candles are cured, store them in a cool, dry place to preserve their scent and burn quality.
Finishing Touches
Once the candles have cured, you can add finishing touches to enhance their presentation. These steps will elevate the look of your jar candles and make them more appealing to customers or gift recipients.
One way to decorate the jars is to add labels or tags. You can design and print your own labels using a computer and printer, or you can purchase pre-made labels from craft stores. Labels can include information such as the candle’s scent, ingredients, and your business name.
Tags can be used to add a personal touch, such as a handwritten message or a small charm.
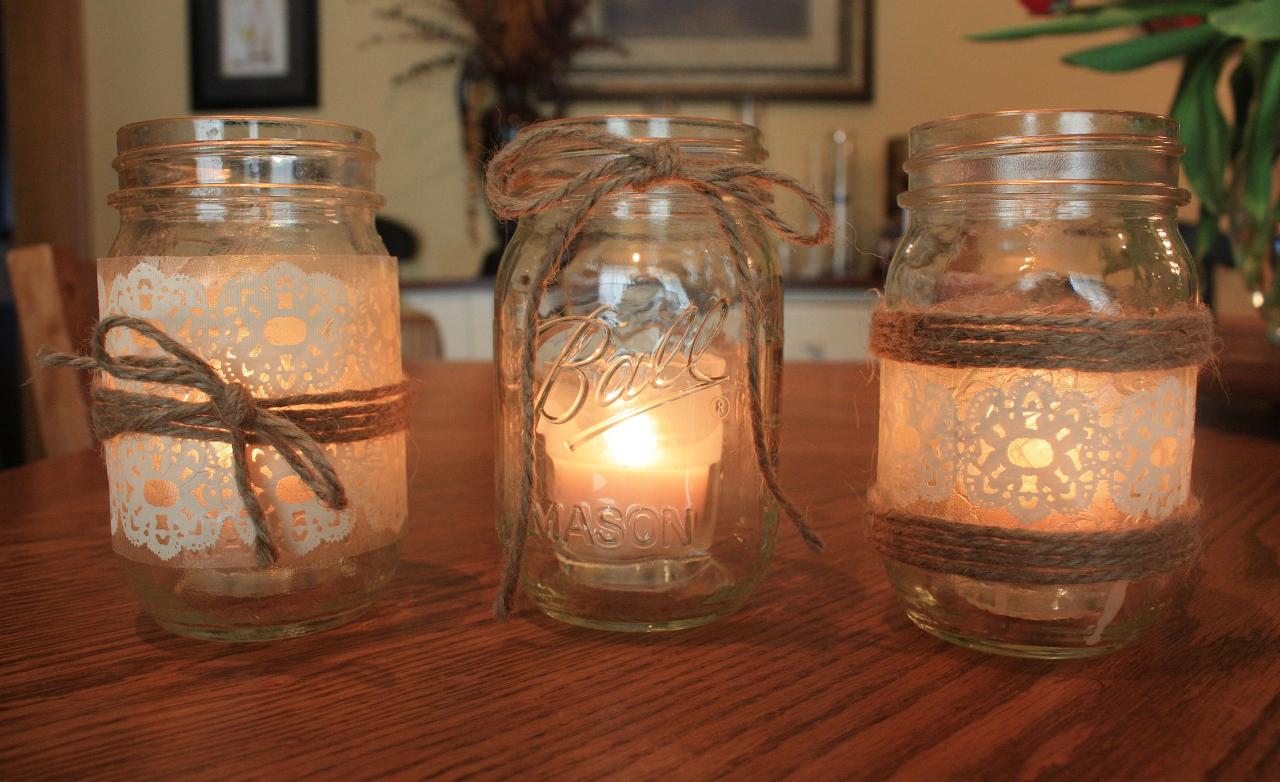
Decorating the Jars
In addition to labels and tags, you can also decorate the jars themselves. One popular technique is to use twine or ribbon to wrap around the jar. You can also add beads, charms, or other embellishments to the twine or ribbon.
Another option is to paint the jars with acrylic paint. You can create simple designs or more elaborate patterns, depending on your artistic ability.
Adding Labels or Tags
Labels and tags are a great way to add a professional touch to your jar candles. They can also be used to provide important information about the candle, such as the scent, ingredients, and burn time. You can create your own labels and tags using a computer and printer, or you can purchase pre-made labels and tags from craft stores.
Last Point
As you complete your jar candle-making adventure, remember to embrace the joy of customization. Experiment with different scents, colors, and decorative elements to create unique candles that reflect your personal style. With a touch of patience and creativity, you’ll soon master the art of crafting beautiful and aromatic jar candles that will bring endless delight to your home.


