Embark on a captivating journey into the art of candle making with this comprehensive guide on how to make candles in a jar. Whether you’re a seasoned crafter or a curious novice, this tutorial will illuminate the process, empowering you to create your own mesmerizing and fragrant candles.
From gathering essential materials to mastering the intricacies of pouring wax and securing wicks, this guide will provide you with a step-by-step roadmap to success. Along the way, you’ll discover the secrets to adding alluring scents and vibrant colors, ensuring your candles are both visually stunning and aromatically delightful.
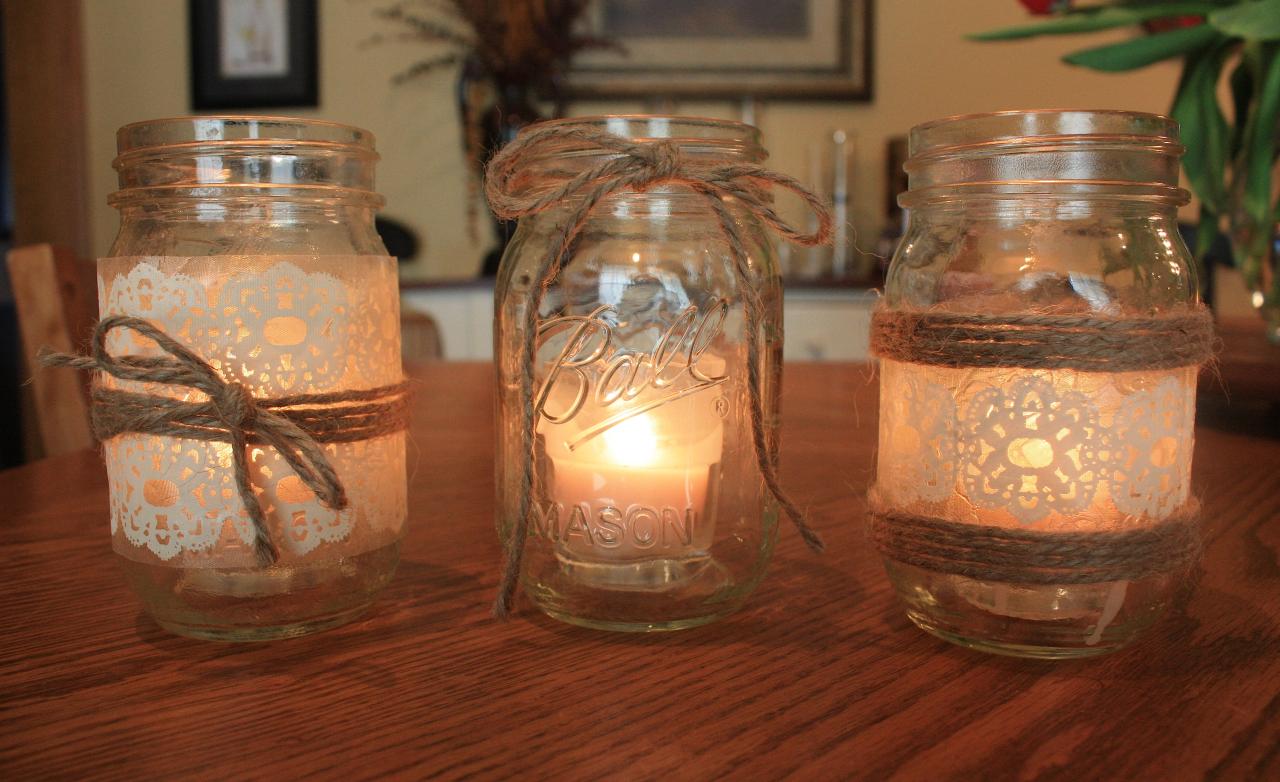
Prepare the Jars
Before you begin pouring your candle wax, it’s crucial to prepare your jars properly. This involves cleaning, drying, and centering the wicks to ensure a smooth and successful candle-making process.
Cleaning the Jars
- Thoroughly wash the jars with hot, soapy water to remove any dirt, dust, or residue.
- Rinse the jars thoroughly with clean water to remove any remaining soap.
- Dry the jars completely with a clean towel or allow them to air dry.
Centering the Wicks, How to make candles in a jar
- Place a wick centering tool or a small piece of adhesive tape in the center of the bottom of the jar.
- Press the wick into the center of the tool or tape.
- Secure the wick in place by pouring a small amount of melted wax around the base of the wick.
- Allow the wax to cool and harden to ensure the wick remains centered.
Properly preparing your jars will help ensure that your candles burn evenly and safely.
Melt the Wax
Melting candle wax is the first step in candle making. There are several methods to melt wax, each with its own advantages and disadvantages. Choosing the right method depends on the type of wax used, the quantity, and the available equipment.
Two common methods for melting candle wax are using a double boiler or a microwave. A double boiler is a pot with a smaller pot inside it. Water is placed in the larger pot, and the smaller pot is placed inside the larger pot.
The wax is placed in the smaller pot, and the water in the larger pot is heated. This method is gentle and prevents the wax from overheating.
Melting wax in a microwave is a faster method, but it is important to be careful not to overheat the wax. Place the wax in a microwave-safe container and heat it in short intervals, stirring in between, until the wax is completely melted.
Regardless of the method used, it is important to measure the wax carefully and heat it to the correct temperature. The correct temperature for melting wax varies depending on the type of wax used. It is important to follow the manufacturer’s instructions for the specific type of wax being used.
Pour the Wax

Now that the wax is melted, it’s time to pour it into the prepared jars. This step requires careful attention to ensure an even distribution of wax and minimize air bubbles.
Pouring the Wax
- Slowly and steadily pour the melted wax into the center of each jar, filling it to about 1/4 inch below the rim.
- Avoid pouring the wax too quickly, as this can create air bubbles.
- If you notice any air bubbles, use a toothpick or skewer to gently pop them.
- Once the jars are filled, tap them gently on the table to help settle the wax and release any remaining air bubbles.
- Allow the wax to cool and harden completely before moving on to the next step.
Secure the Wicks
Once the wax is poured, it is essential to secure the wicks in place to prevent them from moving or falling over as the wax solidifies. This ensures an even burn and prevents the flame from becoming unstable.
There are two common methods for securing wicks:
Wick Bars
Wick bars are small, metal or wooden holders that are placed over the wick and rest on the rim of the jar. They keep the wick centered and upright as the wax cools.
Wick Stickers
Wick stickers are adhesive tabs that are placed on the bottom of the wick and stuck to the inside of the jar. They hold the wick in place and prevent it from shifting during the pouring process.
Cool and Cure: How To Make Candles In A Jar
Once the candles are poured, they need to cool and cure completely before they can be used. This process can take several days or even weeks, depending on the size and type of candle.
During this time, the wax will solidify and the fragrance will develop. It’s important to keep the candles in a cool, dark place while they are curing. This will help to prevent the wax from melting or becoming discolored.
Avoid Tunneling and Frosting
Two common issues that can occur during the cooling and curing process are tunneling and frosting.
- Tunnelingoccurs when the candle burns down the center, leaving a thick layer of wax around the edges. This can be caused by a number of factors, including a wick that is too small or a draft in the room.
- Frostingoccurs when a white, powdery substance forms on the surface of the candle. This is caused by a chemical reaction between the wax and the fragrance. Frosting is not harmful, but it can make the candle look unsightly.
There are a few things you can do to avoid tunneling and frosting:
- Use a wick that is the correct size for the candle.
- Keep the candle out of drafts.
- Burn the candle for at least 4 hours at a time.
- Trim the wick to 1/4 inch before each use.
Trim the Wicks
Properly trimming the wicks of your candles is crucial for safe and efficient burning. Trimming the wicks helps prevent excess smoke, soot buildup, and flickering, ensuring a clean and enjoyable burn.
Optimal Wick Length
The optimal wick length for most candles is around 1/4 inch (6 mm). This length allows the wick to draw enough wax to sustain a stable flame without creating an overly large flame that could produce smoke or soot.
To trim the wicks, use a pair of wick trimmers or scissors. Cut the wick straight across at the desired length. It’s important to trim the wicks regularly, especially before each burn, to maintain the optimal length and prevent any buildup.
Safety Precautions
Making and burning candles in jars involves handling hot wax and open flames, so it’s essential to prioritize safety.
Always observe the following precautions:
Handling Hot Wax
- Wear protective gloves when handling hot wax to avoid burns.
- Use a double boiler or heat-resistant container to melt the wax to prevent overheating and splattering.
- Never leave hot wax unattended.
Preventing Spills
- Place a protective mat or paper underneath the candle-making area to catch any spills.
- Use a pouring pot with a spout to control the flow of wax and minimize drips.
- Clean up spills immediately to prevent tripping hazards or fire risks.
Avoiding Fire Hazards
- Keep candles away from flammable materials, such as curtains, papers, and furniture.
- Never burn candles unattended.
- Trim wicks to 1/4 inch before each burn to prevent large flames and excessive smoke.
- Extinguish candles properly by dipping the wick into the melted wax pool and straightening it back up to prevent smoking.
Closure
As you complete your candle-making adventure, you’ll not only have crafted beautiful and fragrant works of art but also gained invaluable knowledge and a newfound appreciation for this timeless craft. So, gather your supplies, ignite your creativity, and let the warm glow of your homemade candles illuminate your space.


