How to make a candle mold – Welcome to the art of candle mold making, where creativity and precision intertwine. This guide will illuminate your path, empowering you to craft custom molds that will shape your candle-making endeavors.
From understanding the types of molds to troubleshooting common issues, we’ll delve into the intricacies of candle mold making, ensuring you master this essential aspect of the craft.
Materials Required for Candle Mold Making
Crafting unique and personalized candles requires a carefully curated selection of materials. Each component plays a crucial role in ensuring the successful creation of high-quality candle molds. Here’s a comprehensive list of essential materials and their significance:
Molding Material, How to make a candle mold
- Silicone Rubber:A flexible and durable material that creates intricate and reusable molds, capturing even the finest details.
- Polyurethane Rubber:A rigid and high-temperature resistant material suitable for larger or more complex molds.
- Gelatin:A natural and biodegradable material, ideal for creating molds with a soft and pliable texture.
Release Agents
- Mold Release Spray:Prevents the candle wax from sticking to the mold, ensuring a clean and effortless release.
- Petroleum Jelly:An alternative release agent that can be applied directly to the mold surface.
Additional Materials
- Measuring Cups and Spoons:For precise measurement of molding materials and wax.
- Mixing Containers:To thoroughly mix the molding material and release agent.
- Stirring Sticks:For proper agitation of the molding material mixture.
- Thermometer:To monitor the temperature of the candle wax and ensure it is within the optimal pouring range.
- Gloves:To protect hands from contact with chemicals and hot wax.
Types of Candle Molds: How To Make A Candle Mold
Candle molds are essential tools in candle making, providing the shape and structure to the finished product. Understanding the various types of molds available and their unique characteristics is crucial for selecting the most suitable option for your candle-making technique and desired outcome.
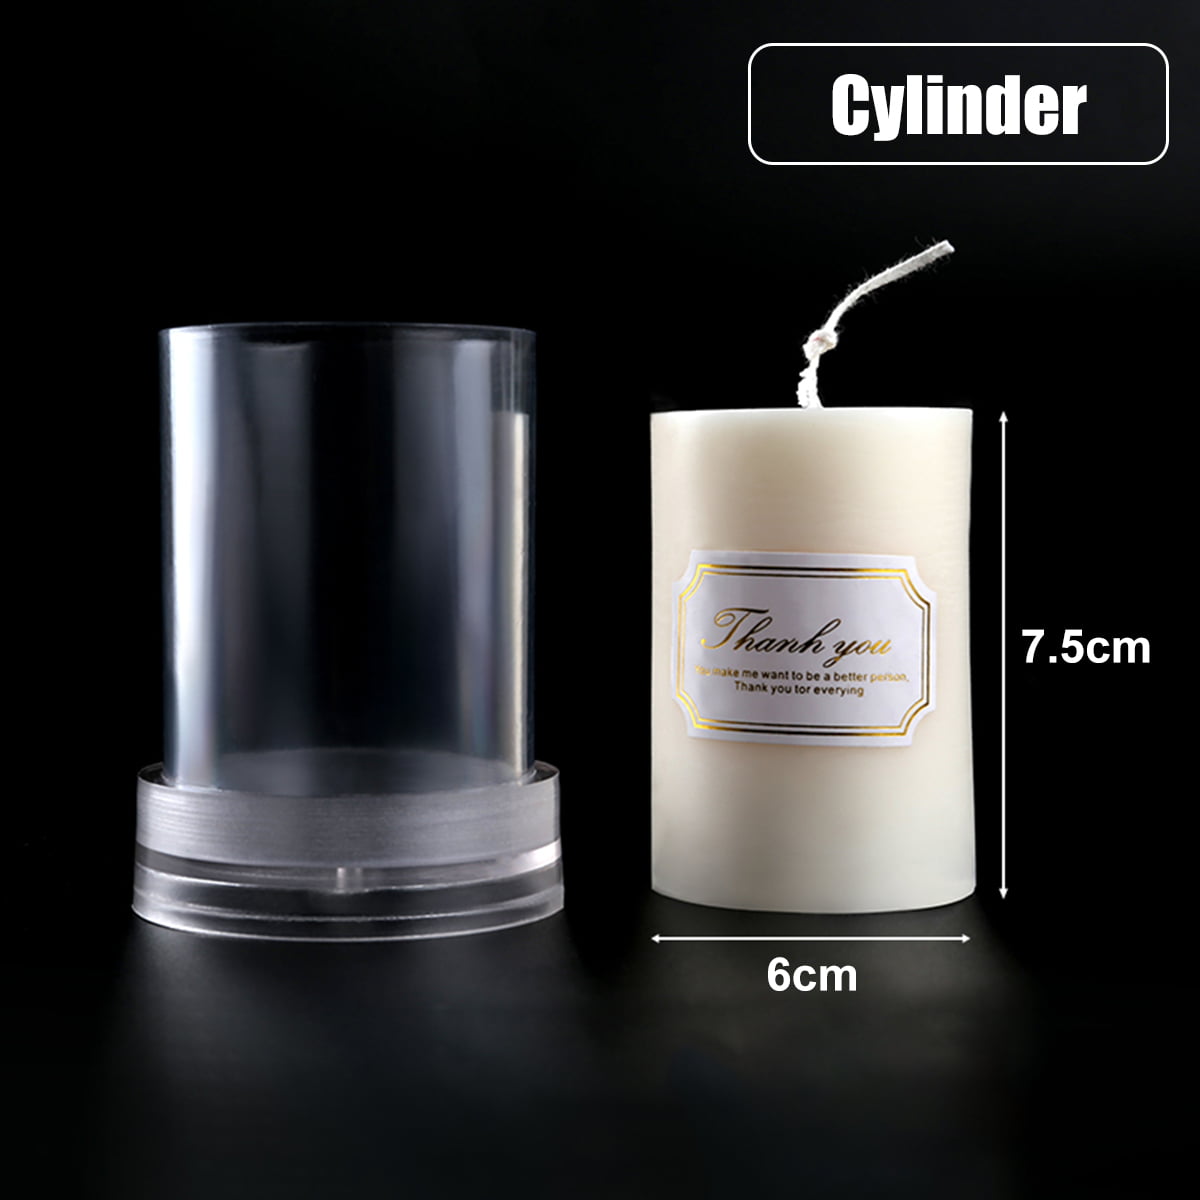
Silicone Molds
Silicone molds are highly versatile and widely used in candle making. They are known for their flexibility, durability, and ability to produce intricate designs with smooth surfaces. Silicone molds are ideal for small to medium-sized candles, and their non-stick properties make it easy to remove the finished candle without damaging its shape.
- Advantages:Flexibility, durability, intricate designs, non-stick properties.
- Limitations:May not be suitable for very large or heavy candles.
Plastic Molds
Plastic molds are another popular choice, particularly for beginners. They are inexpensive, easy to use, and available in a wide range of shapes and sizes. Plastic molds are suitable for both small and large candles, and they can withstand higher temperatures than silicone molds.
- Advantages:Inexpensive, easy to use, available in various shapes and sizes, withstand higher temperatures.
- Limitations:Less flexible than silicone molds, may not produce as intricate designs.
Metal Molds
Metal molds are known for their durability and longevity. They are often used for making large or heavy candles, as they can withstand the heat and weight of the wax. Metal molds produce candles with a smooth, professional-looking finish.
- Advantages:Durable, suitable for large or heavy candles, professional-looking finish.
- Limitations:Expensive, may require special release agents to prevent sticking.
Wood Molds
Wood molds are a unique and rustic option for candle making. They impart a natural, organic look to the finished candle. Wood molds are typically used for smaller candles, as they may warp or crack under the weight of larger amounts of wax.
- Advantages:Natural, organic look, suitable for smaller candles.
- Limitations:May warp or crack under the weight of larger amounts of wax.
Designing and Creating Candle Molds

Designing and creating custom candle molds involves a thoughtful process that encompasses material selection, shaping techniques, and meticulous finishing touches. By understanding the steps involved, you can craft durable and effective molds that will produce beautiful and unique candles.
Material Selection
The choice of materials for your candle molds is crucial. Common options include silicone, plastic, and metal. Silicone molds are highly flexible and easy to use, making them suitable for intricate designs. Plastic molds are more rigid but still provide some flexibility.
Metal molds offer durability and longevity but may require more specialized equipment and techniques.
Shaping Techniques
The shaping of your candle molds can be achieved through various methods. Hand-carving involves using tools to shape the mold directly. 3D printing allows for precise and complex designs. Casting involves creating a master mold and using it to produce multiple copies.
Each technique offers its own advantages and limitations, so consider the desired design and your available resources.
Finishing Touches
Once the mold is shaped, finishing touches are essential for ensuring its functionality and durability. Sanding or polishing can smooth out any rough edges or imperfections. Sealing the mold with a suitable sealant can prevent wax leakage and extend its lifespan.
Proper storage in a cool, dry place will help preserve the mold for future use.
Preparing and Using Candle Molds
To ensure the successful creation of candles, proper preparation and usage of candle molds are essential. This involves cleaning, conditioning, and wicking the molds, as well as carefully pouring the candle wax and allowing for proper curing.
Cleaning and Conditioning Candle Molds
Before using candle molds, it is important to thoroughly clean them to remove any dirt, dust, or debris. This can be done using a mild soap solution and a soft cloth or sponge. After cleaning, the molds should be dried completely before proceeding to the next step.
Conditioning the molds helps to prevent the candles from sticking and ensures a smooth release. This can be done by applying a thin layer of mold release agent, such as petroleum jelly or cooking spray, to the inside of the molds.
Wicking Candle Molds
Wicking is a crucial step in candle making, as it allows the candle to burn properly. To wick the molds, cut a piece of candle wick to the desired length and center it in the mold. The wick should be long enough to extend slightly above the top of the mold, but not so long that it touches the bottom.
Secure the wick in place by tying it to a small weight or using a wick bar. This will help keep the wick centered and prevent it from moving during the pouring process.
Pouring Candle Wax
When pouring the candle wax into the molds, it is important to do so slowly and carefully. Use a pouring pot or a spoon to gently pour the wax into the mold, avoiding spills or air bubbles. Fill the mold to the desired level, leaving a small amount of space at the top for expansion.
Once the molds are filled, allow the wax to cool and solidify completely. This can take several hours or even overnight, depending on the size and thickness of the candles.
Curing Candles
After the candles have solidified, it is important to allow them to cure properly before burning. Curing helps to strengthen the candles and improve their scent throw. To cure the candles, place them in a cool, dry place away from direct sunlight.
The curing time can vary depending on the type of wax used, but generally, it is recommended to cure candles for at least two weeks before burning them.
Troubleshooting Candle Mold Issues

Creating candles with molds can occasionally present challenges. Understanding the potential issues and having solutions at hand ensures a successful candle-making experience.
Common Problems and Solutions
Various problems can arise during candle mold making. Here are some common ones and their solutions:
- Air bubbles:Air bubbles can form when the wax is poured too quickly or if there is moisture present. To prevent this, pour the wax slowly and evenly, and ensure the molds are dry before use. If bubbles do occur, use a toothpick or skewer to gently remove them.
- Uneven surfaces:Uneven surfaces can result from pouring the wax at an angle or not filling the mold completely. To ensure an even surface, hold the mold level and fill it to the brim. You can also gently tap the mold on a flat surface to remove any air pockets.
- Mold sticking:Molds can sometimes stick to the candle, making it difficult to remove. To prevent this, lightly grease the molds with a mold release agent or vegetable oil before pouring the wax. You can also chill the molds in the freezer for a few minutes before pouring, which helps the wax to shrink slightly and release more easily.
Advanced Candle Mold Techniques
Beyond basic candle making, advanced techniques using molds unlock a world of unique and intricate designs.One such technique is using multiple molds. By combining different shapes and sizes, you can create candles with complex geometric patterns or even scenes. Another technique involves embedding objects within the candle.
This could include flowers, beads, or even small toys, adding a touch of personalization or decorative flair.
Summary
As you embark on your candle mold-making journey, remember that experimentation and a touch of artistry will elevate your creations. Embrace the techniques Artikeld in this guide, and you’ll soon be casting unique and captivating candles that will illuminate your space and inspire your senses.


