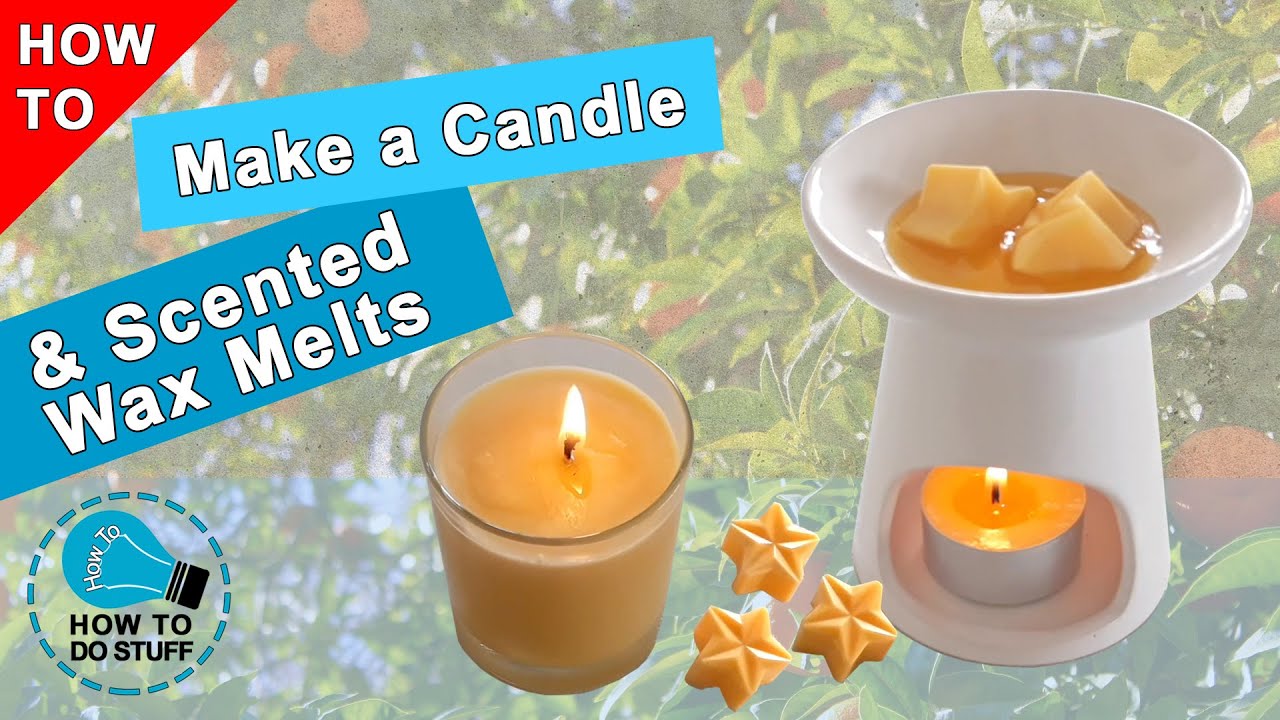
How do you make a candle? This question has intrigued many, and for good reason. Candles have the power to transform any space, creating a warm and inviting atmosphere with their flickering flames and enchanting scents. In this comprehensive guide, we will take you through the step-by-step process of candle making, from gathering the necessary materials to pouring the perfect candle.
Whether you’re a seasoned crafter or a curious novice, this guide will empower you to create your own aromatic masterpieces.
Materials and Equipment

Embarking on the delightful journey of candle making requires an assemblage of essential materials and equipment. These tools and ingredients will serve as the foundation for your fragrant creations, enabling you to transform ordinary wax into aromatic works of art.
Types of Wax
The heart of any candle lies in its wax. Various types of wax are available, each possessing unique characteristics that influence the candle’s burn time, scent throw, and overall aesthetics.
- Paraffin Wax:Derived from petroleum, paraffin wax is a widely used option due to its low cost and easy availability. It offers a clean burn and produces a bright flame, but it can release soot and has a relatively short burn time.
- Soy Wax:Sourced from soybeans, soy wax is a natural and eco-friendly alternative to paraffin wax. It burns cleanly, has a longer burn time, and produces less soot. However, it can be more expensive and may not hold fragrances as well as paraffin wax.
- Beeswax:Harvested from honeycombs, beeswax is a luxurious and natural wax that burns with a warm, golden flame. It has a long burn time, emits a subtle honey scent, and purifies the air as it burns. However, it is the most expensive type of wax and can be difficult to work with.
Wicks
The wick is the lifeblood of a candle, providing a path for the melted wax to travel and sustain the flame. Choosing the right wick size and type is crucial for ensuring a clean and even burn.
- Wick Size:The wick should be proportional to the size of the candle. A larger candle requires a thicker wick to prevent tunneling (when the wax melts only around the wick, creating a hole in the center). A smaller candle, on the other hand, needs a thinner wick to avoid a large flame that could overheat the wax and cause smoking.
- Wick Type:Different types of wicks are available, including cotton, wood, and paper. Cotton wicks are the most common and provide a consistent burn. Wood wicks crackle as they burn, creating a cozy ambiance. Paper wicks are less expensive but may not burn as evenly.
Containers
The container you choose for your candle serves both a practical and aesthetic purpose. It holds the melted wax and provides a base for the flame. When selecting a container, consider the following factors:
- Material:Containers can be made from various materials, such as glass, metal, or ceramic. Glass containers allow you to observe the burning process, while metal and ceramic containers provide insulation and can retain heat better.
- Shape and Size:The shape and size of the container will influence the overall look and burn characteristics of the candle. Wide containers promote a larger flame and faster burn time, while narrow containers create a smaller flame and longer burn time.
- Safety:The container should be heat-resistant and stable enough to withstand the heat of the burning candle. It should also be large enough to prevent the flame from reaching the edges and causing a fire hazard.
Melting Tools
To transform the wax into liquid form, you will need a melting tool. The two most common options are a double boiler and a microwave.
- Double Boiler:A double boiler consists of two pots, one nested inside the other. Water is added to the bottom pot, and the wax is placed in the top pot. The water is heated, and the steam gently melts the wax, preventing it from overheating and scorching.
- Microwave:Using a microwave to melt wax is a convenient method, but it requires careful monitoring. Place the wax in a microwave-safe container and heat it in short intervals, stirring in between, until it is completely melted.
Melting the Wax: How Do You Make A Candle

The first step in candle making is melting the wax. This can be done using various methods, each with its advantages and disadvantages. The most common methods include using a double boiler, microwave, or stovetop.
Using a Double Boiler
A double boiler is a pot that sits inside a larger pot of boiling water. This method is gentler than using a microwave or stovetop and helps prevent the wax from overheating. To use a double boiler, fill the bottom pot with water and bring it to a boil.
Then, place the top pot inside the bottom pot and add the wax to the top pot. Stir the wax until it melts completely.
Using a Microwave
Melting wax in the microwave is a quick and easy method, but it is important to be careful not to overheat the wax. To melt wax in the microwave, place the wax in a microwave-safe container and heat it in short intervals, stirring in between.
Do not overheat the wax, as this can cause it to smoke or catch fire.
Using a Stovetop
Melting wax on the stovetop is another option, but it is important to use a low heat setting and stir the wax constantly to prevent it from scorching. To melt wax on the stovetop, place the wax in a heat-resistant container and place it on a low heat setting.
Stir the wax constantly until it melts completely.
Pouring the Candles

Once the wax has melted, it’s time to pour it into your candle containers. To ensure a centered wick and prevent air bubbles, follow these steps:
Centering the Wick
- Secure the wick in the center of the container using a wick holder or a small piece of tape.
- If using a wick bar, make sure it is level and centered.
Avoiding Air Bubbles
- Pour the melted wax slowly and steadily into the container, avoiding splashing.
- Use a skewer or chopstick to gently stir the wax as you pour to release any trapped air bubbles.
- If bubbles do form, use a heat gun or hairdryer to gently heat the surface of the wax to pop them.
Cooling and Curing
Once the containers are filled, allow the candles to cool completely at room temperature for at least 24 hours before lighting. This cooling period allows the wax to set properly and prevents the candles from tunneling or smoking.
Smooth and Even Surface
For a smooth and even candle surface, consider using a heat gun or hairdryer to gently heat the top of the candle after it has cooled. This will melt any uneven areas and create a more polished look.
Finishing Touches
Once your candles are poured, there are a few finishing touches you can add to make them look and smell even better.
First, you can decorate the candles with labels, ribbons, or other embellishments. This is a great way to personalize your candles and make them unique.
Trimming the Wicks
Once your candles are decorated, you need to trim the wicks to the proper length. The ideal wick length is about 1/4 inch. If the wick is too long, it will cause the candle to smoke and flicker. If the wick is too short, it will not burn properly.
Packaging and Storing Candles, How do you make a candle
Once your candles are finished, you need to package and store them properly. Candles should be stored in a cool, dry place away from direct sunlight. You can wrap the candles in tissue paper or bubble wrap to protect them from damage.
Troubleshooting Common Issues

Candle making is a rewarding hobby, but it’s not without its challenges. Here are some common problems you may encounter and how to resolve them:
Wick Tunneling
Wick tunneling occurs when the flame burns only in the center of the candle, creating a deep tunnel and leaving unmelted wax around the edges. This can be caused by using a wick that is too small or by not trimming the wick properly before lighting.
To prevent wick tunneling, use a wick that is the correct size for the diameter of your candle. You should also trim the wick to 1/4 inch before each use.
Frosting
Frosting occurs when small white crystals form on the surface of the candle. This is caused by the wax cooling too quickly. To prevent frosting, make sure to let the candle cool slowly and evenly.
Uneven Burning
Uneven burning can be caused by a number of factors, including using a wick that is too large or too small, not centering the wick properly, or having drafts in the room where the candle is burning.
To prevent uneven burning, use a wick that is the correct size for the diameter of your candle, center the wick properly, and avoid burning the candle in drafty areas.
Final Review

As you embark on this creative journey, remember that candle making is an art that requires patience, precision, and a touch of inspiration. By following the techniques Artikeld in this guide, you will gain the skills and knowledge to craft candles that not only illuminate your home but also fill it with enchanting fragrances.
So, gather your materials, ignite your creativity, and let’s delve into the captivating world of candle making.

